

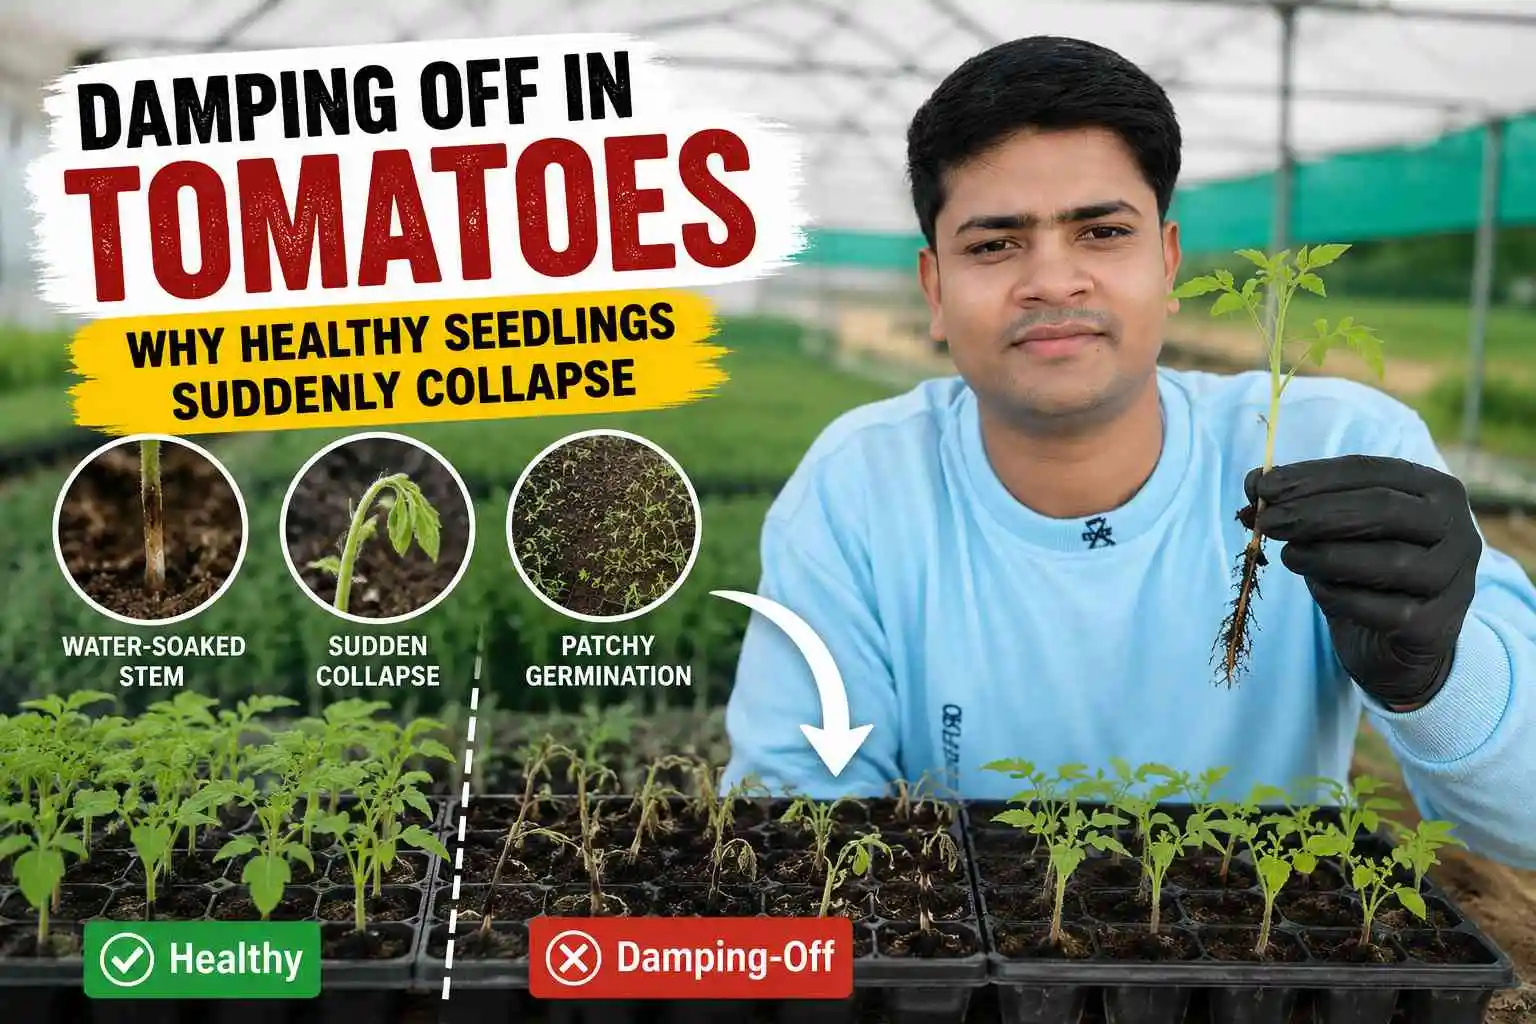

Damping Off in Tomatoes: Why Healthy Seedlings Suddenly Collapse
A tomato nursery can look perfectly fine on Monday and be full of collapsed seedlings by Wednesday. No warning, no obvious pest, no visible disease on the leaves — just thin, water-soaked stems that can’t hold the plant up anymore.
Most growers blame the seed. Some blame the fertilizer. But in the majority of cases, the real culprit is damping off — a nursery disease that thrives on excess moisture, poor drainage, and overcrowded trays.
This isn’t a small inconvenience. Losing a nursery bed means delayed transplanting, wasted seed cost, and in many cases, having to buy replacement seedlings just to stay on schedule. For a grower running 5,000–10,000 seedlings, that delay alone can push transplanting back by 10–15 days, which shifts the entire harvest window.
In this article, each section has a specific job: understanding why damping off happens, how to correctly identify it, how to build a nursery protocol that prevents it, what to do the day you spot an outbreak, where fungicides and biologicals actually fit, and how to make sure the problem doesn’t travel with your seedlings into the main field.
What’s Really Causing Damping-Off in Your Tomato Nursery?
Damping off isn’t caused by a single fungus. It’s a disease syndrome — meaning several soil- and media-borne pathogens can produce the same collapse symptoms. The usual suspects include Pythium species, Phytophthora species, Rhizoctonia solani, and Fusarium species.
Different pathogens tend to dominate under different conditions. Pythium and Phytophthora favour waterlogged, poorly drained media. Rhizoctonia often shows up where the surface looks dry but the root zone stays wet. This matters because it explains why damping off can appear even when you think you’re “not overwatering” — the real problem is often sitting below the surface, out of sight.
Here’s the mechanism in plain terms: consistently wet nursery media starves the root zone of oxygen, weakens the seedling’s natural defences, and creates exactly the damp, low-oxygen environment these pathogens need to spread. Overcrowded trays with poor airflow add a second layer of risk on top of that, trapping humidity right at seedling level.
Ranked roughly by how often they drive an outbreak:
- Waterlogged or heavy, compacted nursery media
- Excess or poorly timed irrigation
- Reused, contaminated media or trays
- Overcrowded seedlings with poor air circulation
- Seed sown too deep
- Infected or poor-quality seed
- Excess nitrogen leading to soft, lush growth
- Insufficient sunlight or ventilation in the nursery structure
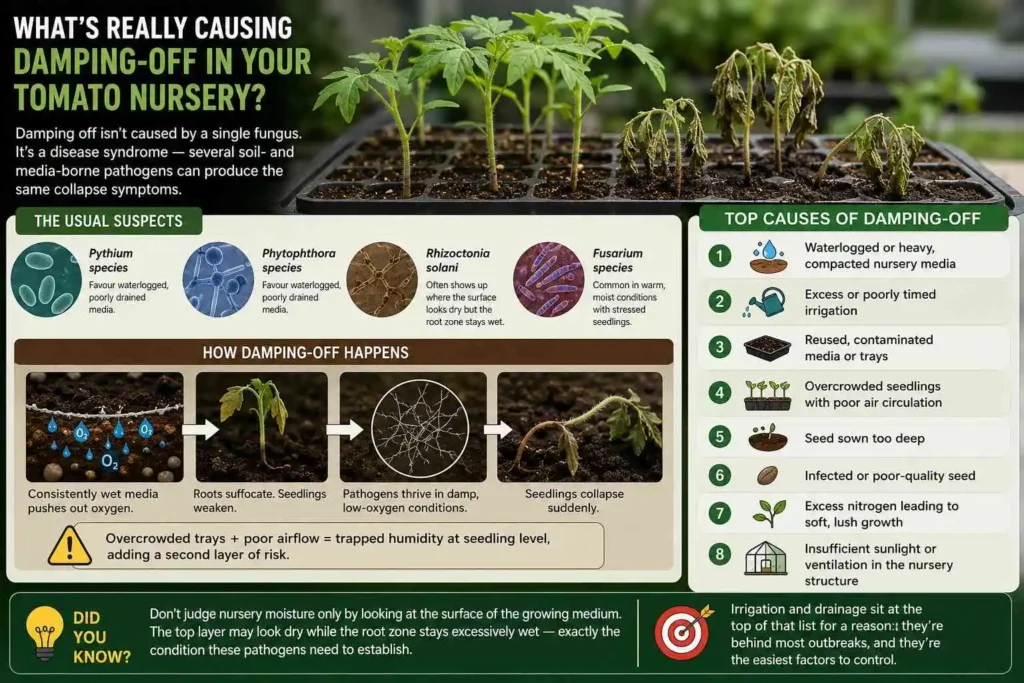
Did You Know? Don’t judge nursery moisture only by looking at the surface of the growing medium. The top layer may look dry while the root zone stays excessively wet — exactly the condition these pathogens need to establish.
Irrigation and drainage sit at the top of that list for a reason: they’re behind most outbreaks, and they’re also the easiest factors for a grower to control directly. Everything in the prevention section below builds from that fact.
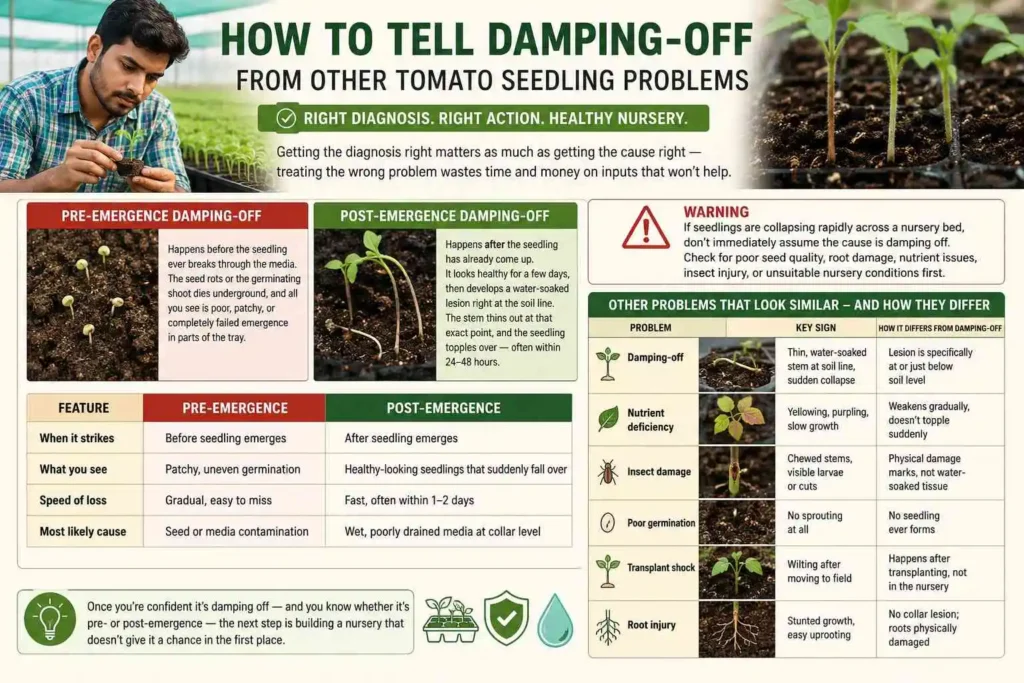
How to Tell Damping-Off From Other Tomato Seedling Problems
Getting the diagnosis right matters as much as getting the cause right — treating the wrong problem wastes time and money on inputs that won’t help.
Pre-emergence damping-off happens before the seedling ever breaks through the media. The seed rots or the germinating shoot dies underground, and all you see is poor, patchy, or completely failed emergence in parts of the tray.
Post-emergence damping-off happens after the seedling has already come up. It looks healthy for a few days, then develops a water-soaked lesion right at the soil line. The stem thins out at that exact point, and the seedling topples over — often within 24–48 hours.
| Feature | Pre-Emergence | Post-Emergence |
|---|---|---|
| When it strikes | Before seedling emerges | After seedling emerges |
| What you see | Patchy, uneven germination | Healthy-looking seedlings that suddenly fall over |
| Speed of loss | Gradual, easy to miss | Fast, often within 1–2 days |
| Most likely cause | Seed or media contamination | Wet, poorly drained media at collar level |
Not every seedling that dies in the nursery has damping off, though. A few other problems produce similar-looking collapse, and confusing them with damping off is a common mistake.
Warning If seedlings are collapsing rapidly across a nursery bed, don’t immediately assume the cause is damping off. Check for poor seed quality, root damage, nutrient issues, insect injury, or unsuitable nursery conditions first.
| Problem | Key Sign | How It Differs from Damping-Off |
|---|---|---|
| Damping-off | Thin, water-soaked stem at soil line, sudden collapse | Lesion is specifically at or just below soil level |
| Nutrient deficiency | Yellowing, purpling, slow growth | Weakens gradually, doesn’t topple suddenly |
| Insect damage | Chewed stems, visible larvae or cuts | Physical damage marks, not water-soaked tissue |
| Poor germination | No sprouting at all | No seedling ever forms |
| Transplant shock | Wilting after moving to field | Happens after transplanting, not in the nursery |
| Root injury | Stunted growth, easy uprooting | No collar lesion; roots physically damaged |
Once you’re confident it’s damping off — and you know whether it’s pre- or post-emergence — the next step is building a nursery that doesn’t give it a chance in the first place.
How to Prepare a Tomato Nursery That Resists Damping-Off
Prevention is almost always cheaper than control. Once damping off is established in a tray, you’re managing losses, not curing plants. Think of this as a checklist to run through before you sow, not something to fix later.
- Start with good-quality, healthy seed from a reliable source.
- Use a clean, well-drained nursery medium — avoid reused soil or compost of unknown history.
- Sanitize trays and tools between batches, especially if a previous batch had disease.
- Sow at the correct depth; too deep increases the time seeds spend vulnerable underground.
- Space seedlings properly and maintain good ventilation so air can move around the trays and foliage dries quickly after irrigation.
- Water based on actual moisture conditions, not a fixed calendar.
- Where recommended and legally registered, consider a biological seed treatment as an added layer of protection.
Common Mistake One mistake many tomato growers make is watering seedlings on a fixed schedule even after cloudy or rainy weather. Irrigation should be adjusted based on actual moisture conditions, drainage, temperature, and the nursery environment — not a calendar.
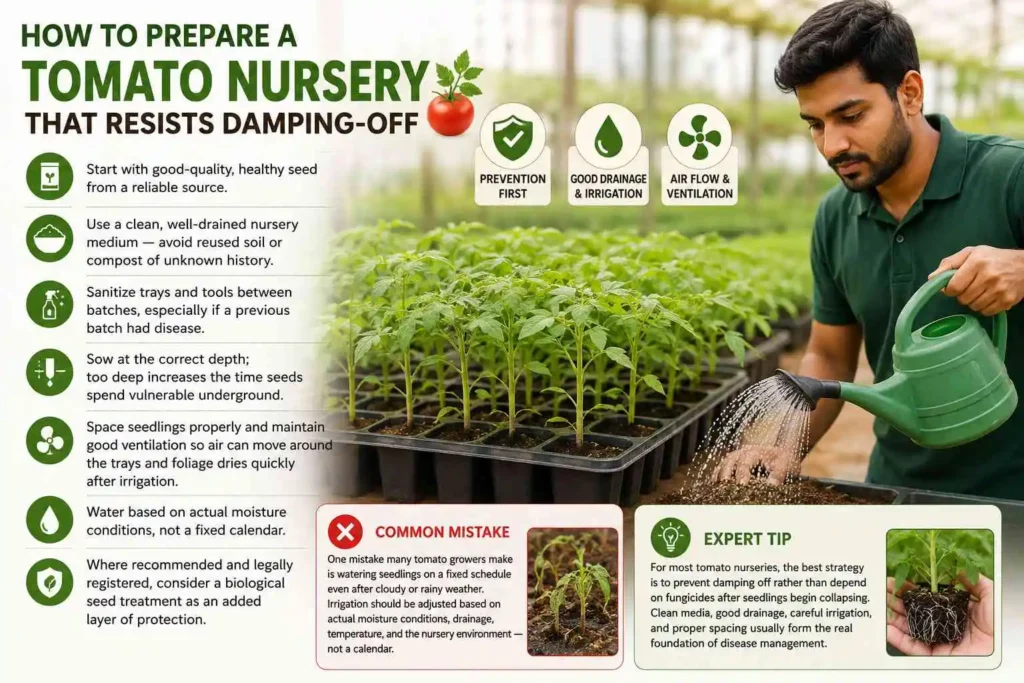
Expert Tip For most tomato nurseries, the best strategy is to prevent damping off rather than depend on fungicides after seedlings begin collapsing. Clean media, good drainage, careful irrigation, and proper spacing usually form the real foundation of disease management.
A Rough Cost Picture for Indian Growers
These figures are indicative only and will vary by region, brand, and season — use them to compare relative costs, not as fixed pricing.
| Item | Approximate Cost (₹) | Notes |
|---|---|---|
| Quality hybrid tomato seed (10g) | ₹250–₹600 | Varies by variety and source |
| Well-drained nursery media, cocopeat-based (5 kg bag) | ₹150–₹350 | Price scales with bag size; check per-kg rate before comparing brands |
| Registered biological seed treatment (Trichoderma-based, 250g) | ₹150–₹400 | Depends on brand, strain, and formulation |
| Registered tray/tool sanitizer | Varies by product and concentration | Get exact pricing and dilution rate from the product label; costs aren’t comparable across products by volume alone |
For context: at roughly ₹0.80–₹2 per replacement seedling, losing and replacing 5,000 seedlings could cost somewhere around ₹4,000–₹10,000 — before counting the delay to your transplanting schedule. Actual prices vary significantly by hybrid, nursery, region, and season, so treat this as a rough comparison rather than a fixed figure. Either way, a few hundred rupees spent on clean media and seed treatment upfront is small next to that.
What to Do the Day You Spot an Outbreak
Be realistic here — once a seedling has a collapsed stem, it isn’t coming back. The goal now shifts from prevention to protecting whatever hasn’t been infected yet.
- Mark the affected patches and avoid moving water, tools, or hands from those sections to healthy trays.
- Remove severely infected seedlings and dispose of them away from the nursery — don’t compost them nearby.
- Cut back irrigation immediately; don’t compensate by watering more.
- Improve drainage and airflow around the remaining trays.
- Review your nursery routine from the start — an outbreak usually points to one specific weak link, whether that’s media, watering habits, or a contaminated tray.
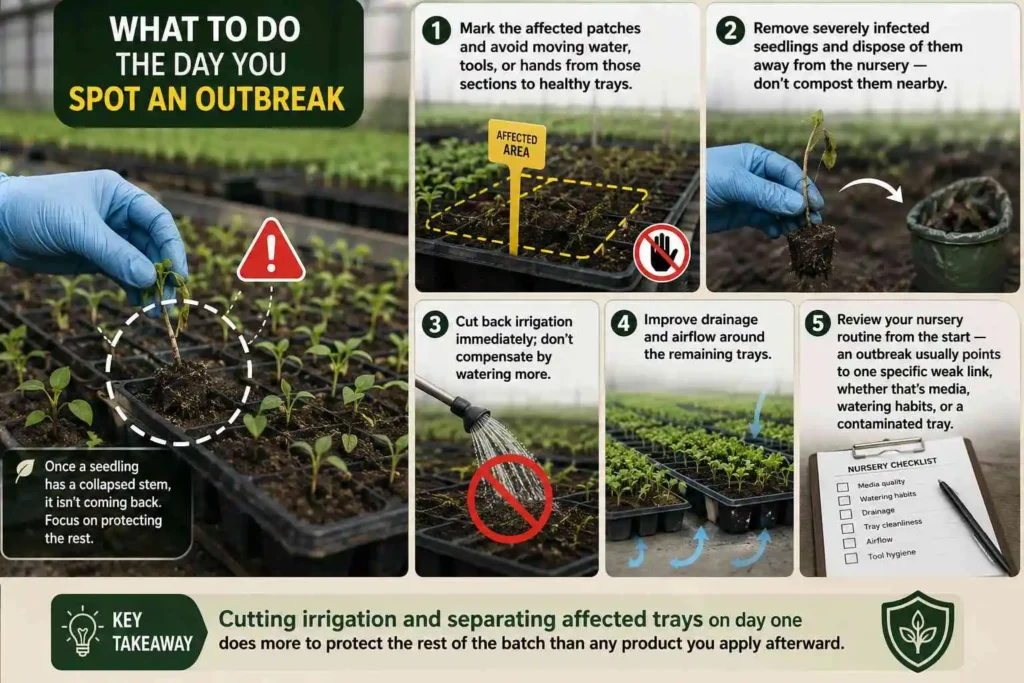
Key Takeaway Cutting irrigation and separating affected trays on day one does more to protect the rest of the batch than any product you apply afterward.
Should You Use Fungicides or Focus on Prevention?
Chemical and biological products have a place in managing an active outbreak, but neither is a substitute for fixing the conditions that caused it.
If you’re considering chemical control:
- Select products based on the suspected pathogen and local recommendations, not guesswork.
- Only use products registered for tomato nursery use in your state or country.
- Follow the label rate and application method exactly.
- Rotate modes of action if repeated treatment is needed, to reduce resistance risk.
Biological options — certain Trichoderma or Bacillus-based products, for example — can be a useful part of an integrated approach, but their success depends heavily on product quality, correct application, and nursery conditions. When diagnosis is uncertain, a local agricultural extension office or qualified crop adviser is a better first call than guessing which product to buy.
Key Takeaway Neither biological nor chemical treatments compensate for chronically wet, poorly drained nursery conditions. Fix the environment first; treat as a supporting measure, not a fix-all.
How to Stop Damping-Off Before It Reaches Your Main Crop
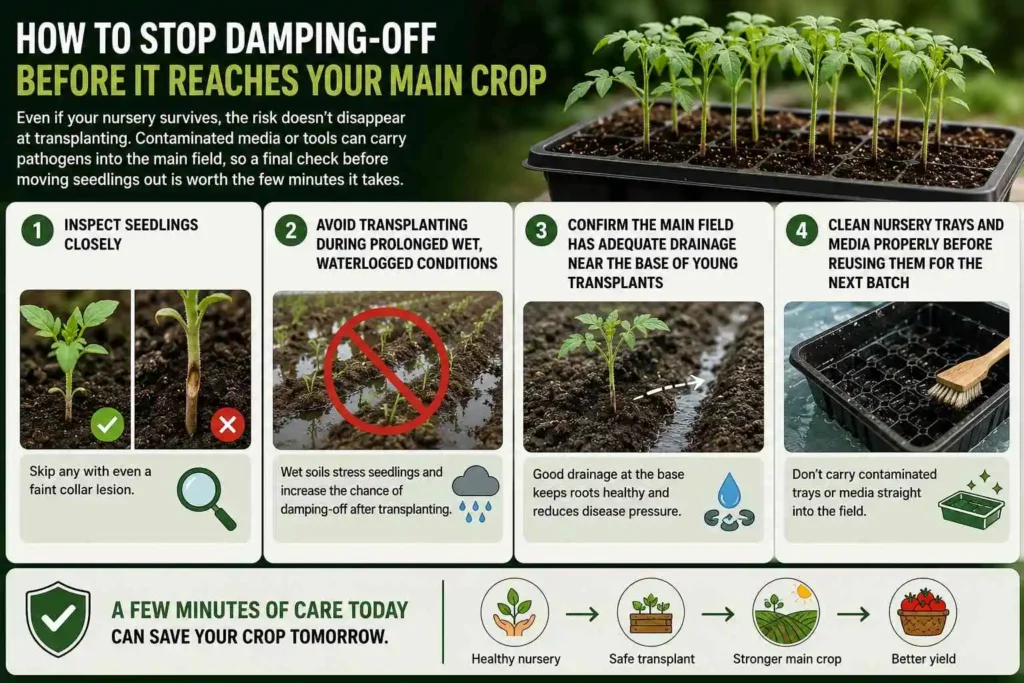
Even if your nursery survives, the risk doesn’t disappear at transplanting. Contaminated media or tools can carry pathogens into the main field, so a final check before moving seedlings out is worth the few minutes it takes.
- Inspect seedlings closely; skip any with even a faint collar lesion.
- Avoid transplanting during prolonged wet, waterlogged field conditions.
- Confirm the main field also has adequate drainage near the base of young transplants.
- Clean nursery trays and media properly before reusing them for the next batch — don’t carry them straight into the field.
The Bottom Line
Damping off is almost always easier — and cheaper — to prevent than to cure. Get irrigation and drainage right, and you’ve already removed the biggest risk factor; clean media, sensible spacing, and good ventilation take care of most of what’s left.
Before you start your next [tomato farming] batch, take twenty minutes to check your nursery drainage, clean your trays properly, and review how you’ve been watering. If you’re planning to grow specialty varieties, it’s also worth reviewing your approach to [heirloom tomato farming] before sowing. That small effort now can save an entire batch of seedlings later.
FAQs on Damping-Off in Tomatoes
Q: Is damping off contagious between trays?
Yes. Water, contaminated tools, and even hands moving between trays can spread the pathogens involved, which is why separating affected and healthy trays matters as soon as you spot a problem.
Q: Can damping off affect tomato plants after transplanting?
It’s primarily a nursery-stage disease, but seedlings carrying an early, unnoticed infection can still weaken or collapse shortly after transplanting if field conditions stay wet.
Q: What is the single most important prevention step?
Managing irrigation and drainage. Most outbreaks trace back to consistently wet, poorly aerated nursery media rather than any single external factor.
Q: Do I need a fungicide every time I start a new nursery?
No. Preventive fungicide use isn’t automatically necessary — clean media, proper spacing, and correct watering prevent most cases without any chemical input.
Q: How quickly does damping off kill a seedling?
Post-emergence damping off can topple a seedling within 24–48 hours of the first visible lesion, which is why quick identification matters more than a slow, wait-and-see approach.
Newsletter